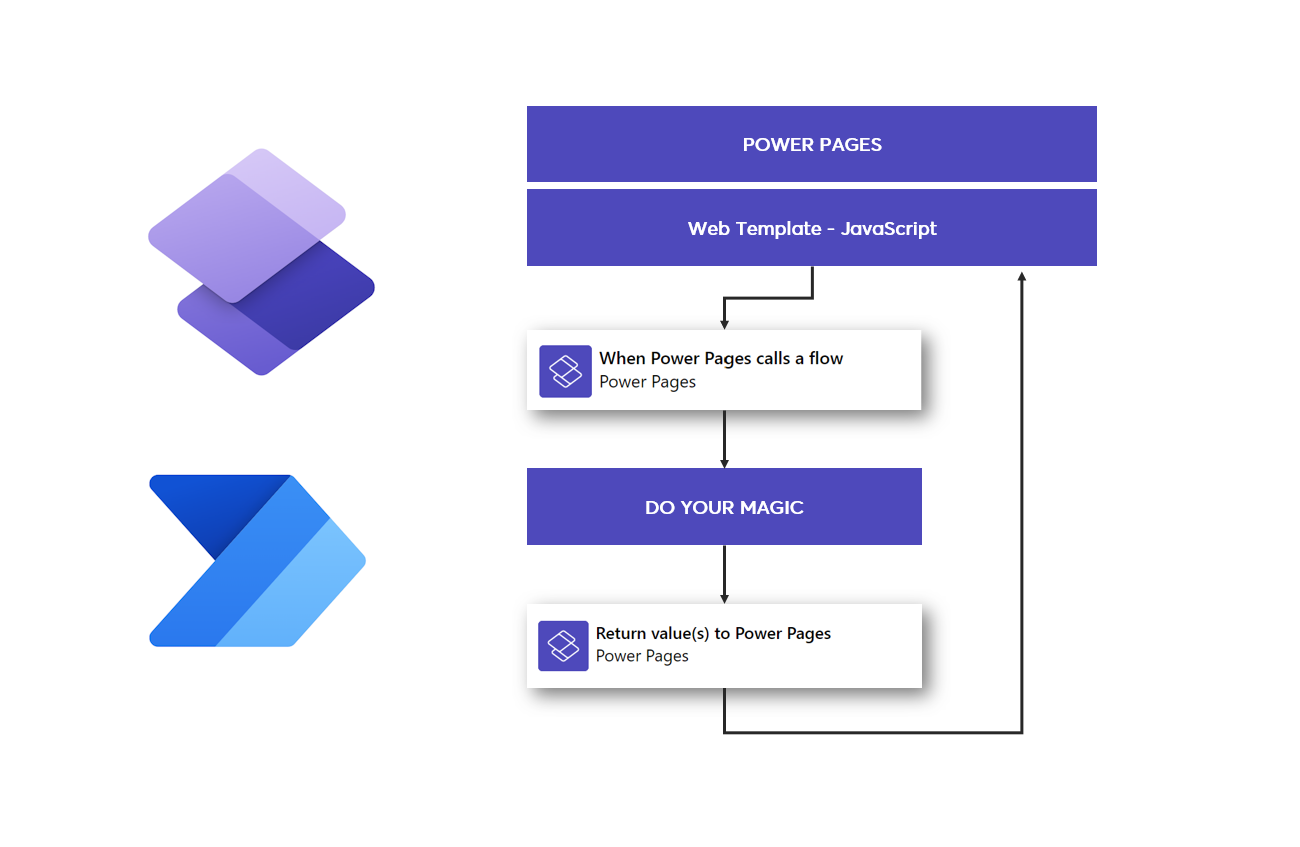
Microsoft finally released the possibility to trigger Power Automate cloud flow securely from the Power Pages website. This feature makes it possible to reduce code implementations on the site side when the logic can be moved to a configurable cloud flow implementation. In addition, you have all the platform's connectors at your disposal.
Let's go through a simple example of how you can create a Power Automate cloud flow and how to define it so that it can be used through Power Pages. After that, we go through how to trigger the flow with JavaScript and process the response.
Creating cloud flow for Power Pages
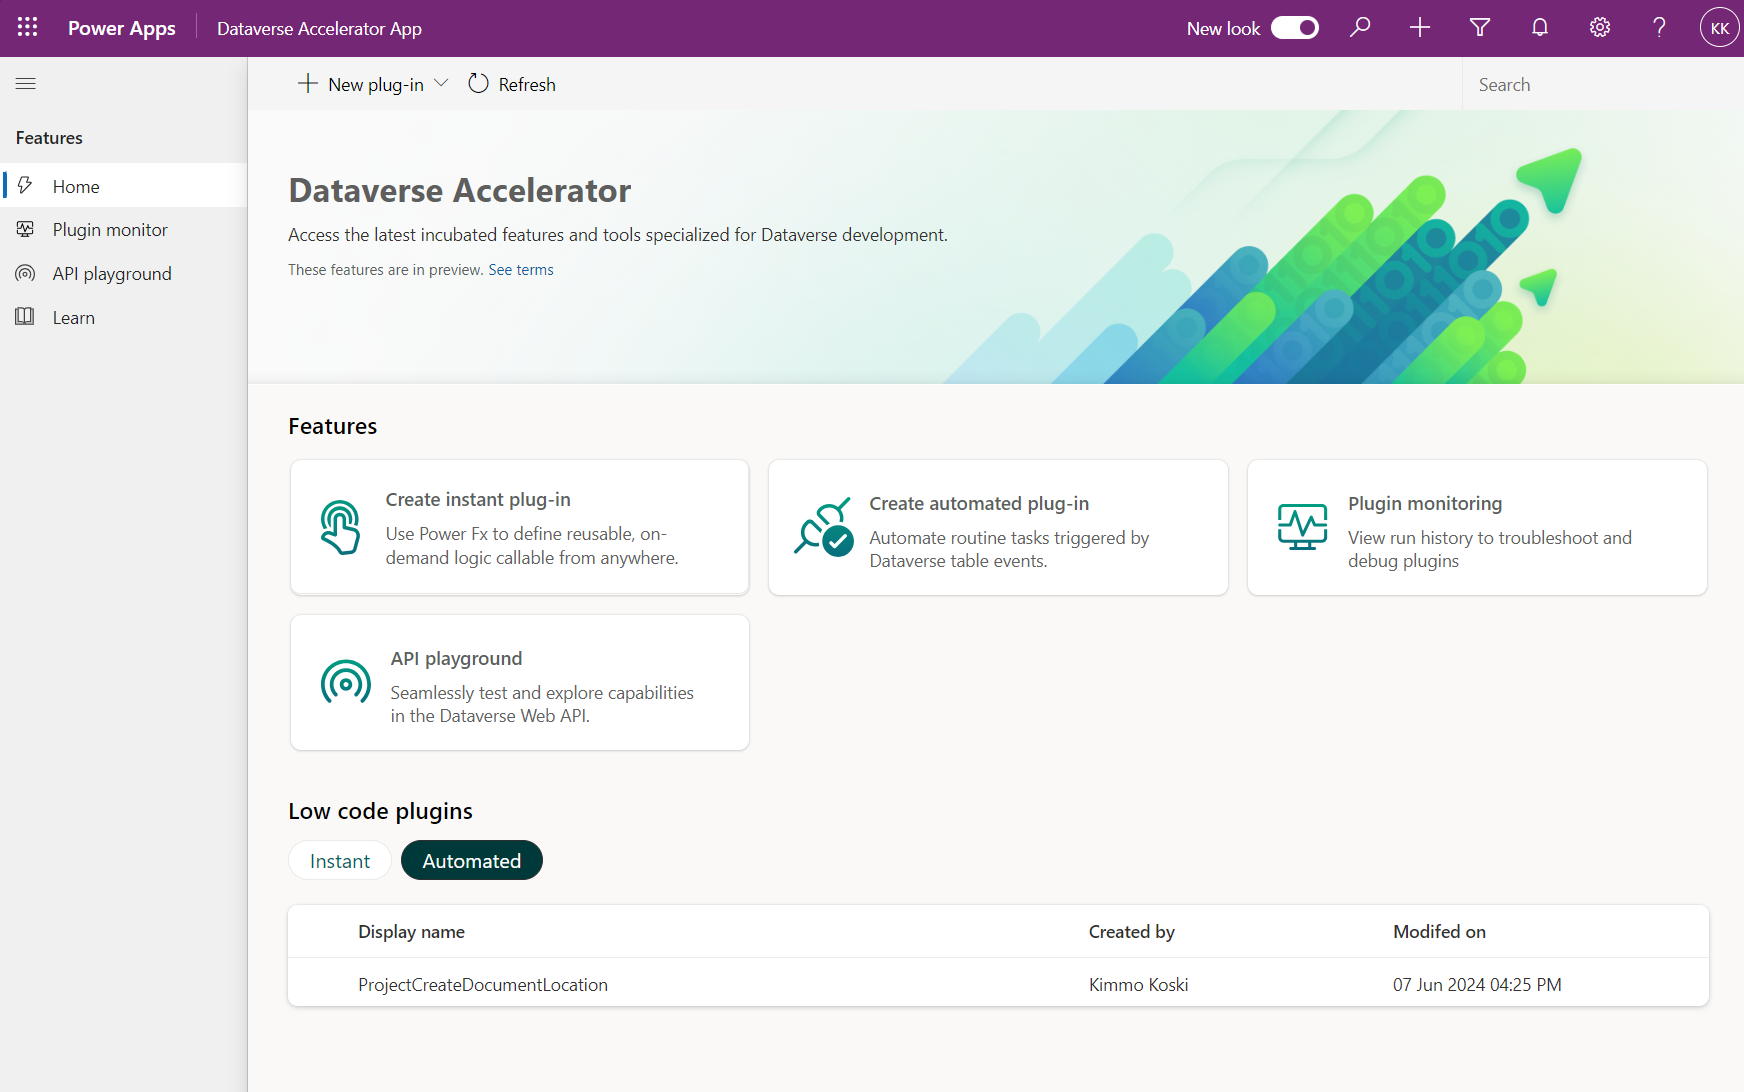
You are able to create new cloud flow straight from Design Studio by navigating to Cloud flows under Set up section (see image below).
In my example, a cloud flow is created that receives an identifier of a delivery record, which allows us to cancel that delivery from the Dataverse and then return information about a successful cancellation back to the portal.
There is only one trigger in the Power Pages connector, which is similar to what is used on the Power Apps side when the Canvas app implementation calls flow. Different types of input parameters can be defined for the trigger. Available types are text, boolean, file, and number.
In the example implementation, the flow is defined as "DeliveryId", which can be used to update the correct record in the Dataverse table. When record is updated we are using Power Pages return action to send response back to portal page.

Add cloud flow to your site
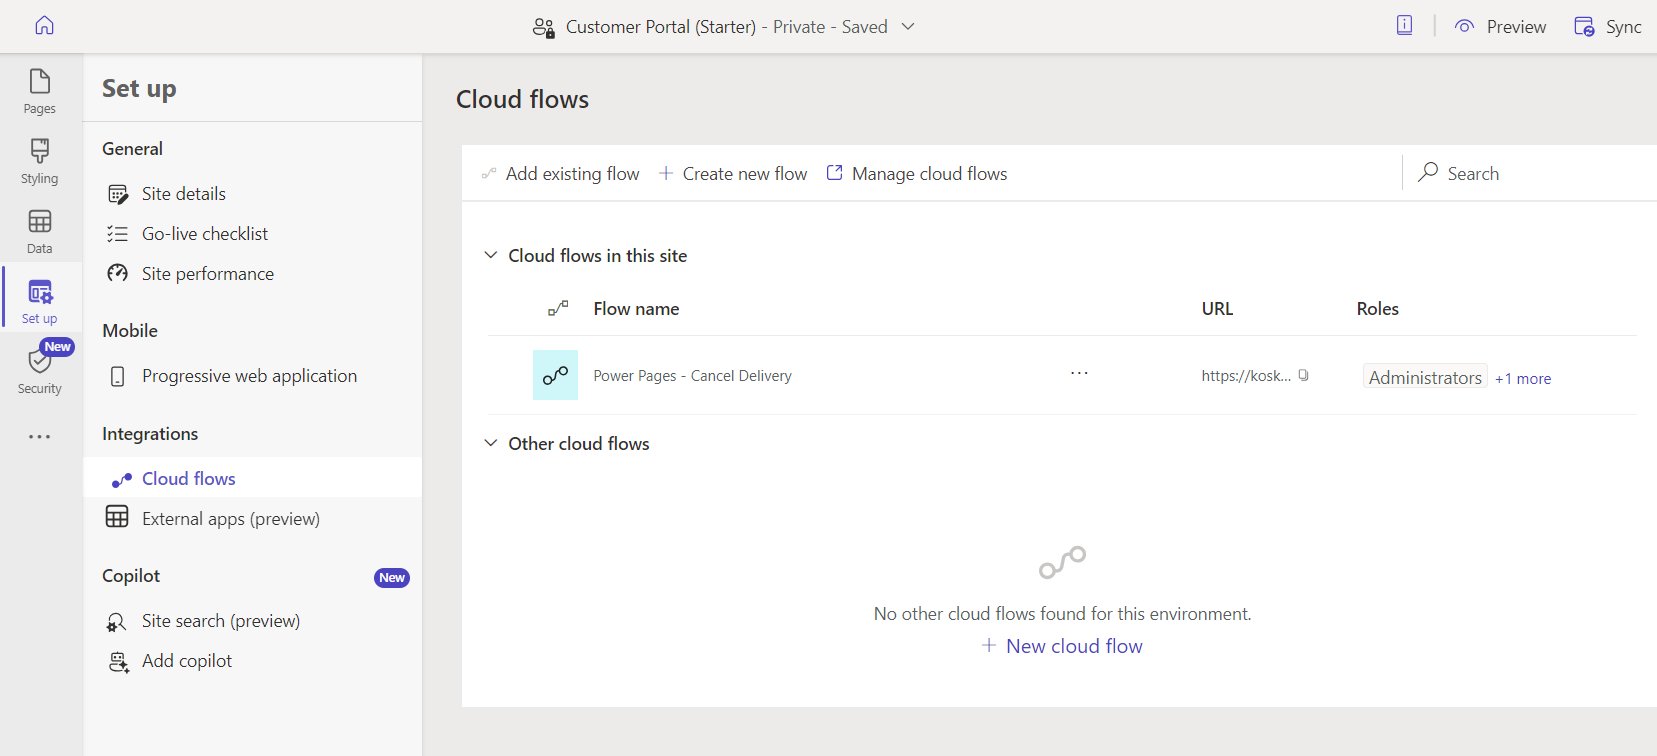
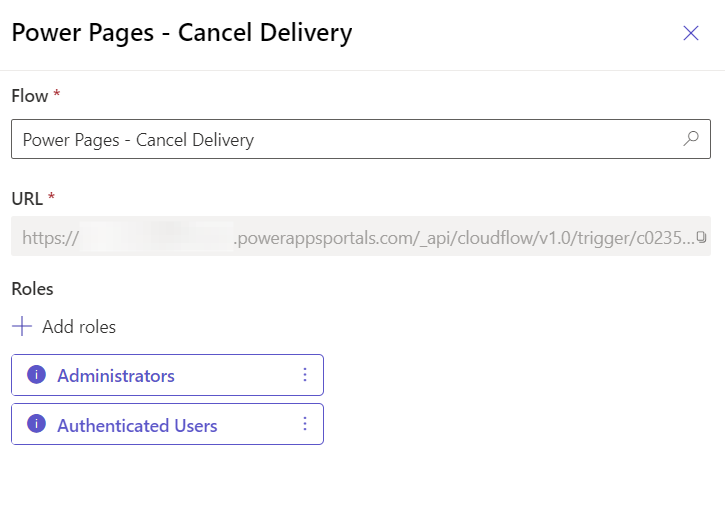
Once the cloud flow is created, it can be added as part of the Power Pages site. After this, the flow gets a unique trigger address that can only be called from this particular site. In addition, cloud flow can be defined to be used only with certain web roles.
After this we are ready to trigger this flow from Power Pages site with JavaScript.
Trigger cloud flow from site
Cloud flow can be triggered using the unique address obtained through Design Studio and the JavaScript code below.
Power Pages includes function shell.ajaxSafePost that can be used to call the cloud flow trigger. You can see an example of the invitation below.
function cancelDelivery(deliveryId) {
  // Create data object
  var data = {};
  data["DeliveryId"] = deliveryId;

  // Add data object to payload
  var payload = {};
  payload.eventData = JSON.stringify(data);

  // Get unique cloud flow URL from snippets
  var url = '{{ snippets['PowerAutomate/CancelDelivery/URL'] }}';

  shell.ajaxSafePost({
    type: "POST",
    contentType: "application/json",
    url: url,
    data: JSON.stringify(payload),
    processData: false,
    global: false,
  }).done(function (response) {
    // Handle response from cloud flow
    const result = JSON.parse(response);
    $('#btn-' + deliveryId).prop("disabled", true);
    $('#p-' + deliveryId).text(result.response);
  }).fail(function () {
    // Handle exception
    alert("failed");
  });
}
Handle response and update page
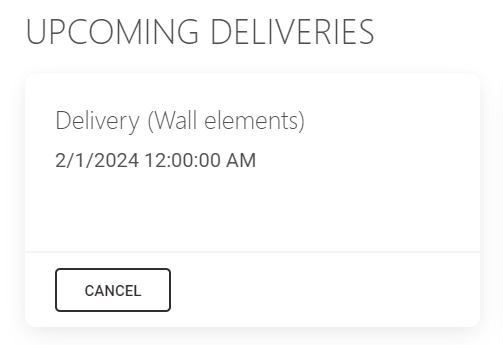
In my example, there is a very simple user interface that shows basic information about delivery. In addition to this, the user interface has a button from which cloud flow is started. After execution, a cancellation response is returned to the user interface and the button is disabled.
Components retrieves all deliveries from Dataverse using Liquid fetchxml query and then loops them through and creates cards for deliveries with unique identifier when calling cancel logic.
{% fetchxml deliveriesQuery %}
<fetch mapping='logical' output-format='xml-platform'>
<entity name='kk_delivery'>
<attribute name='kk_deliveryid' />
<attribute name='kk_name' />
<attribute name='kk_deliverydate' />
<filter type="and">
<condition attribute="kk_projectid" operator="eq" value="{{ request.params.id }}" />
</filter>
</entity>
</fetch>
{% endfetchxml %}
{% assign place_count = count | integer %}
{% assign column_count = columns | integer %}
<div class="row row-cols-1 row-cols-md-{{ column_count }} g-4">
{% for delivery in deliveriesQuery.results.entities limit: place_count %}
<div class="col">
<div class="card h-100">
<div class="card-body">
<h5 class="card-title">{{ delivery.kk_name }}</h5>
<p class="card-text">{{ delivery.kk_deliverydate }}</p>
<p class="card-text" id="p-{{ delivery.kk_deliveryid }}"></p>
</div>
<div class="card-footer">
<button type="button" id="btn-{{ delivery.kk_deliveryid }}" onclick="cancelDelivery('{{ delivery.kk_deliveryid }}')" class="btn btn-outline-dark" data-mdb-ripple-init data-mdb-ripple-color="dark">Cancel</button>
</div>
</div>
</div>
{% endfor %}
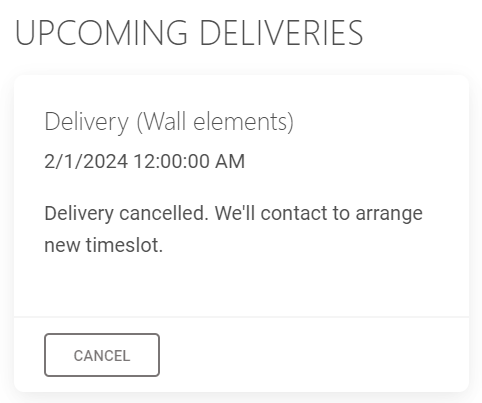
</div>When Cancel button is clicked we call a function previously described. Flow runs and return response which is then made visible for user like shown below.
Summary
When you need custom logic or connect to third party service, this method can be a huge timesaver when your pro-code developer does not need to create these processes with code. This also helps low-code developers to do more in Power Pages projects.
Some key points of using Power Automate cloud flows
- Securely invoke Power Automate cloud flows from Power Pages
- Get easy access to 1000+ external connectors
- Makers may contribute to more complex scenarios
- Trigger flow or trigger and wait for response
- Power Automate license is required
- Less code depth on your portal implementation
- Remember to consider performance, performance and performance!
Cloud flows are not solution for all scenarios because they need to be triggered and responses handled with JavaScript so these we are not able to use with built-in components. But these are well suited as part of the development of Web Template components, where the user interface is custom built.